Step 1. Create a team
- Sign in to Powerdrill.
-
Click your profile icon in the lower-left corner.
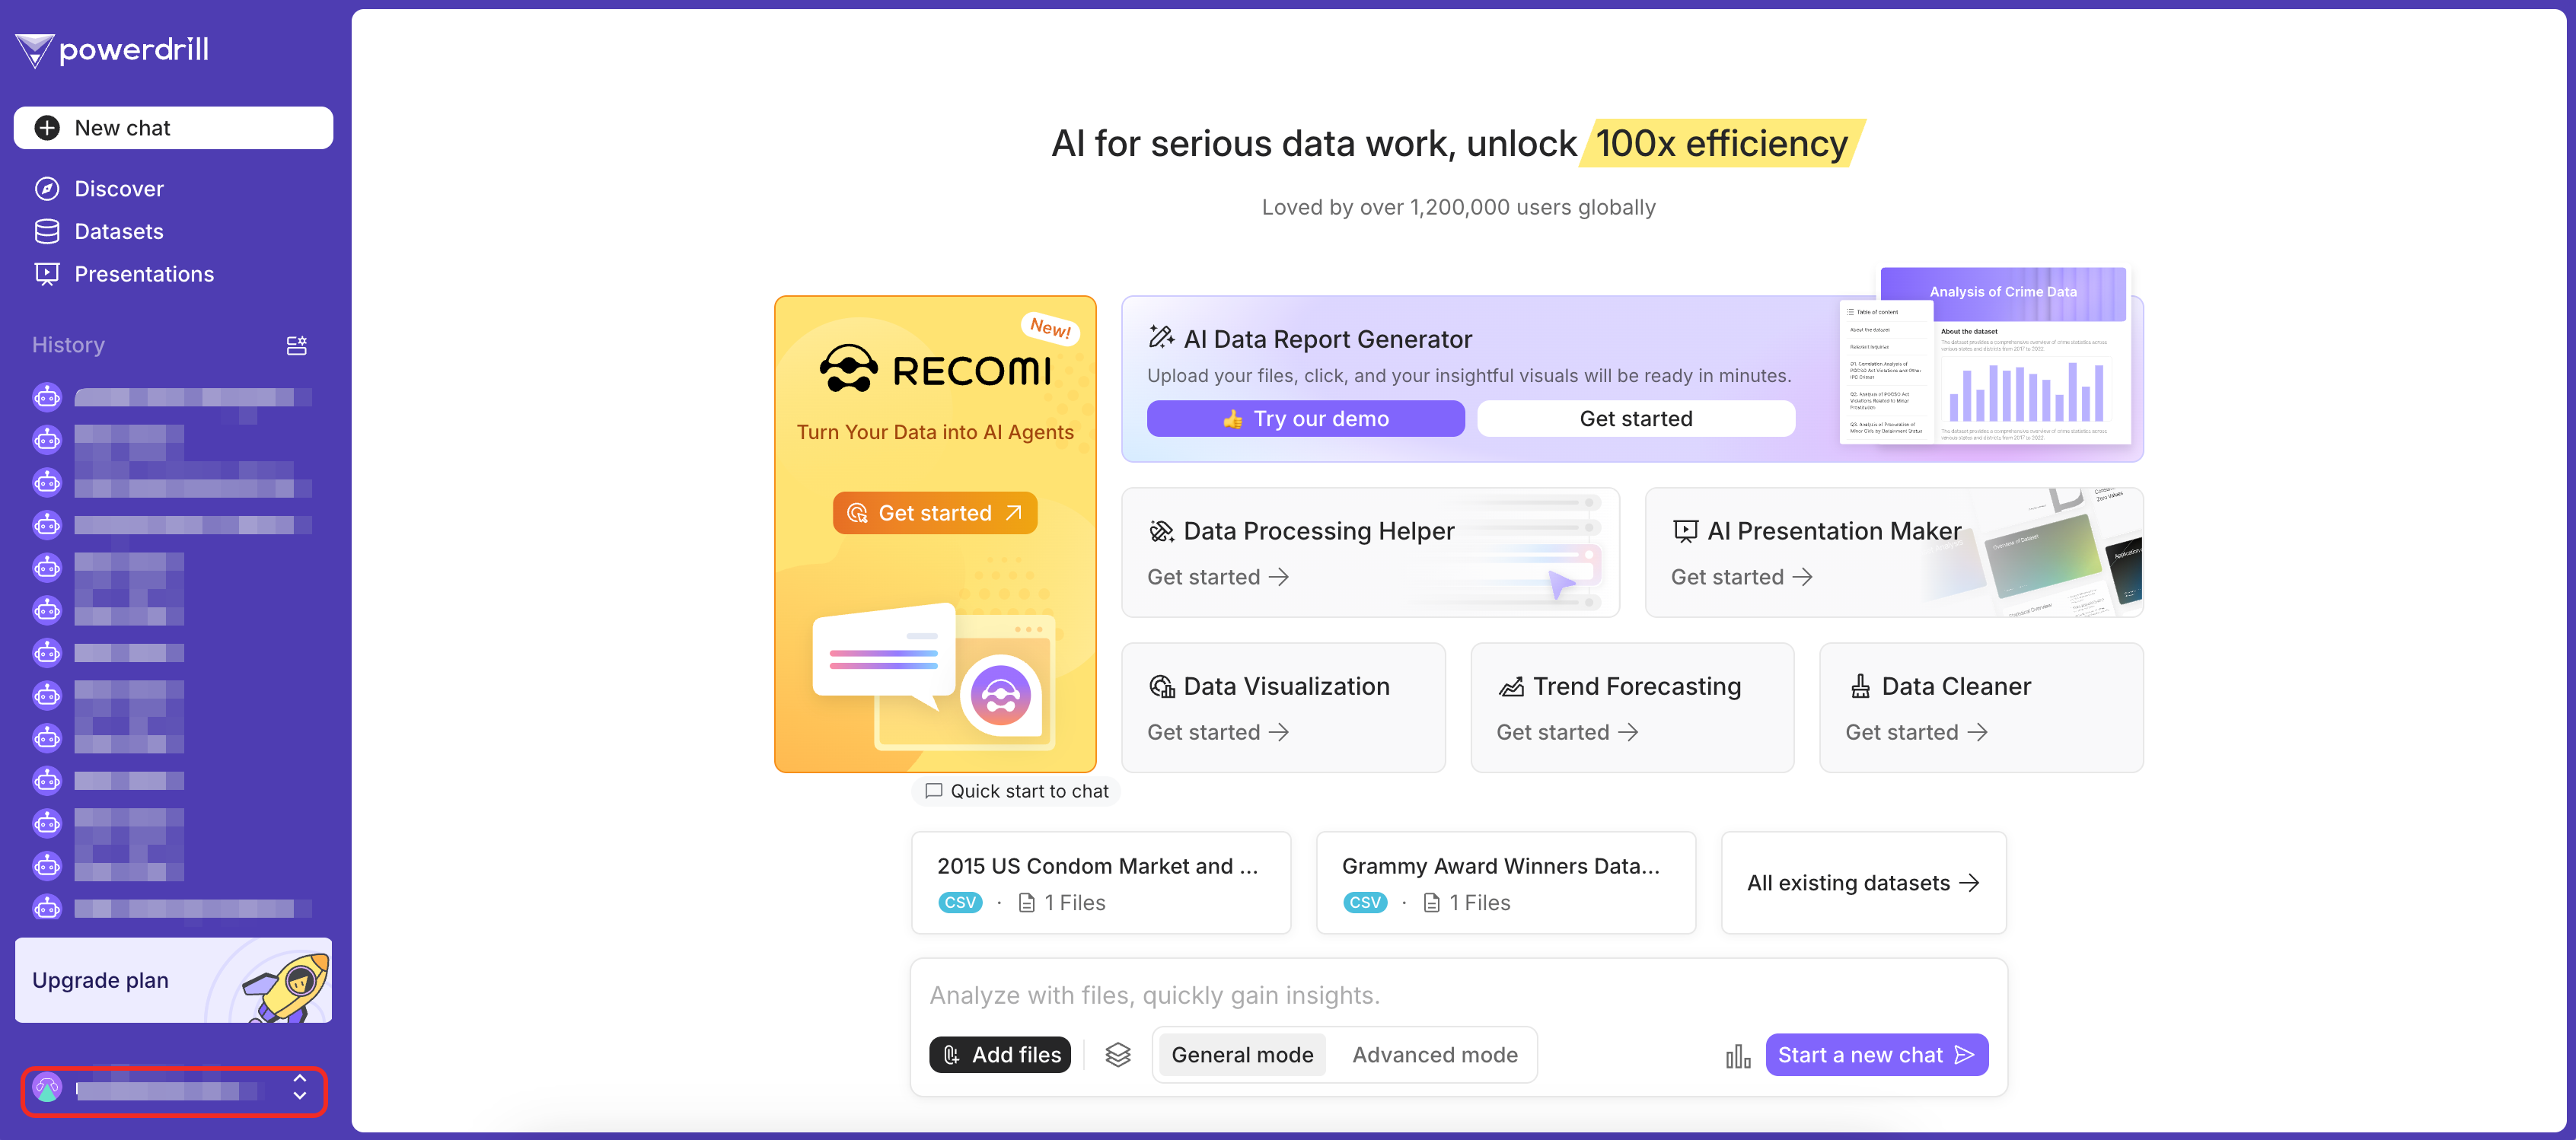
- In the menu, go to the Workspace section and click Create team.
-
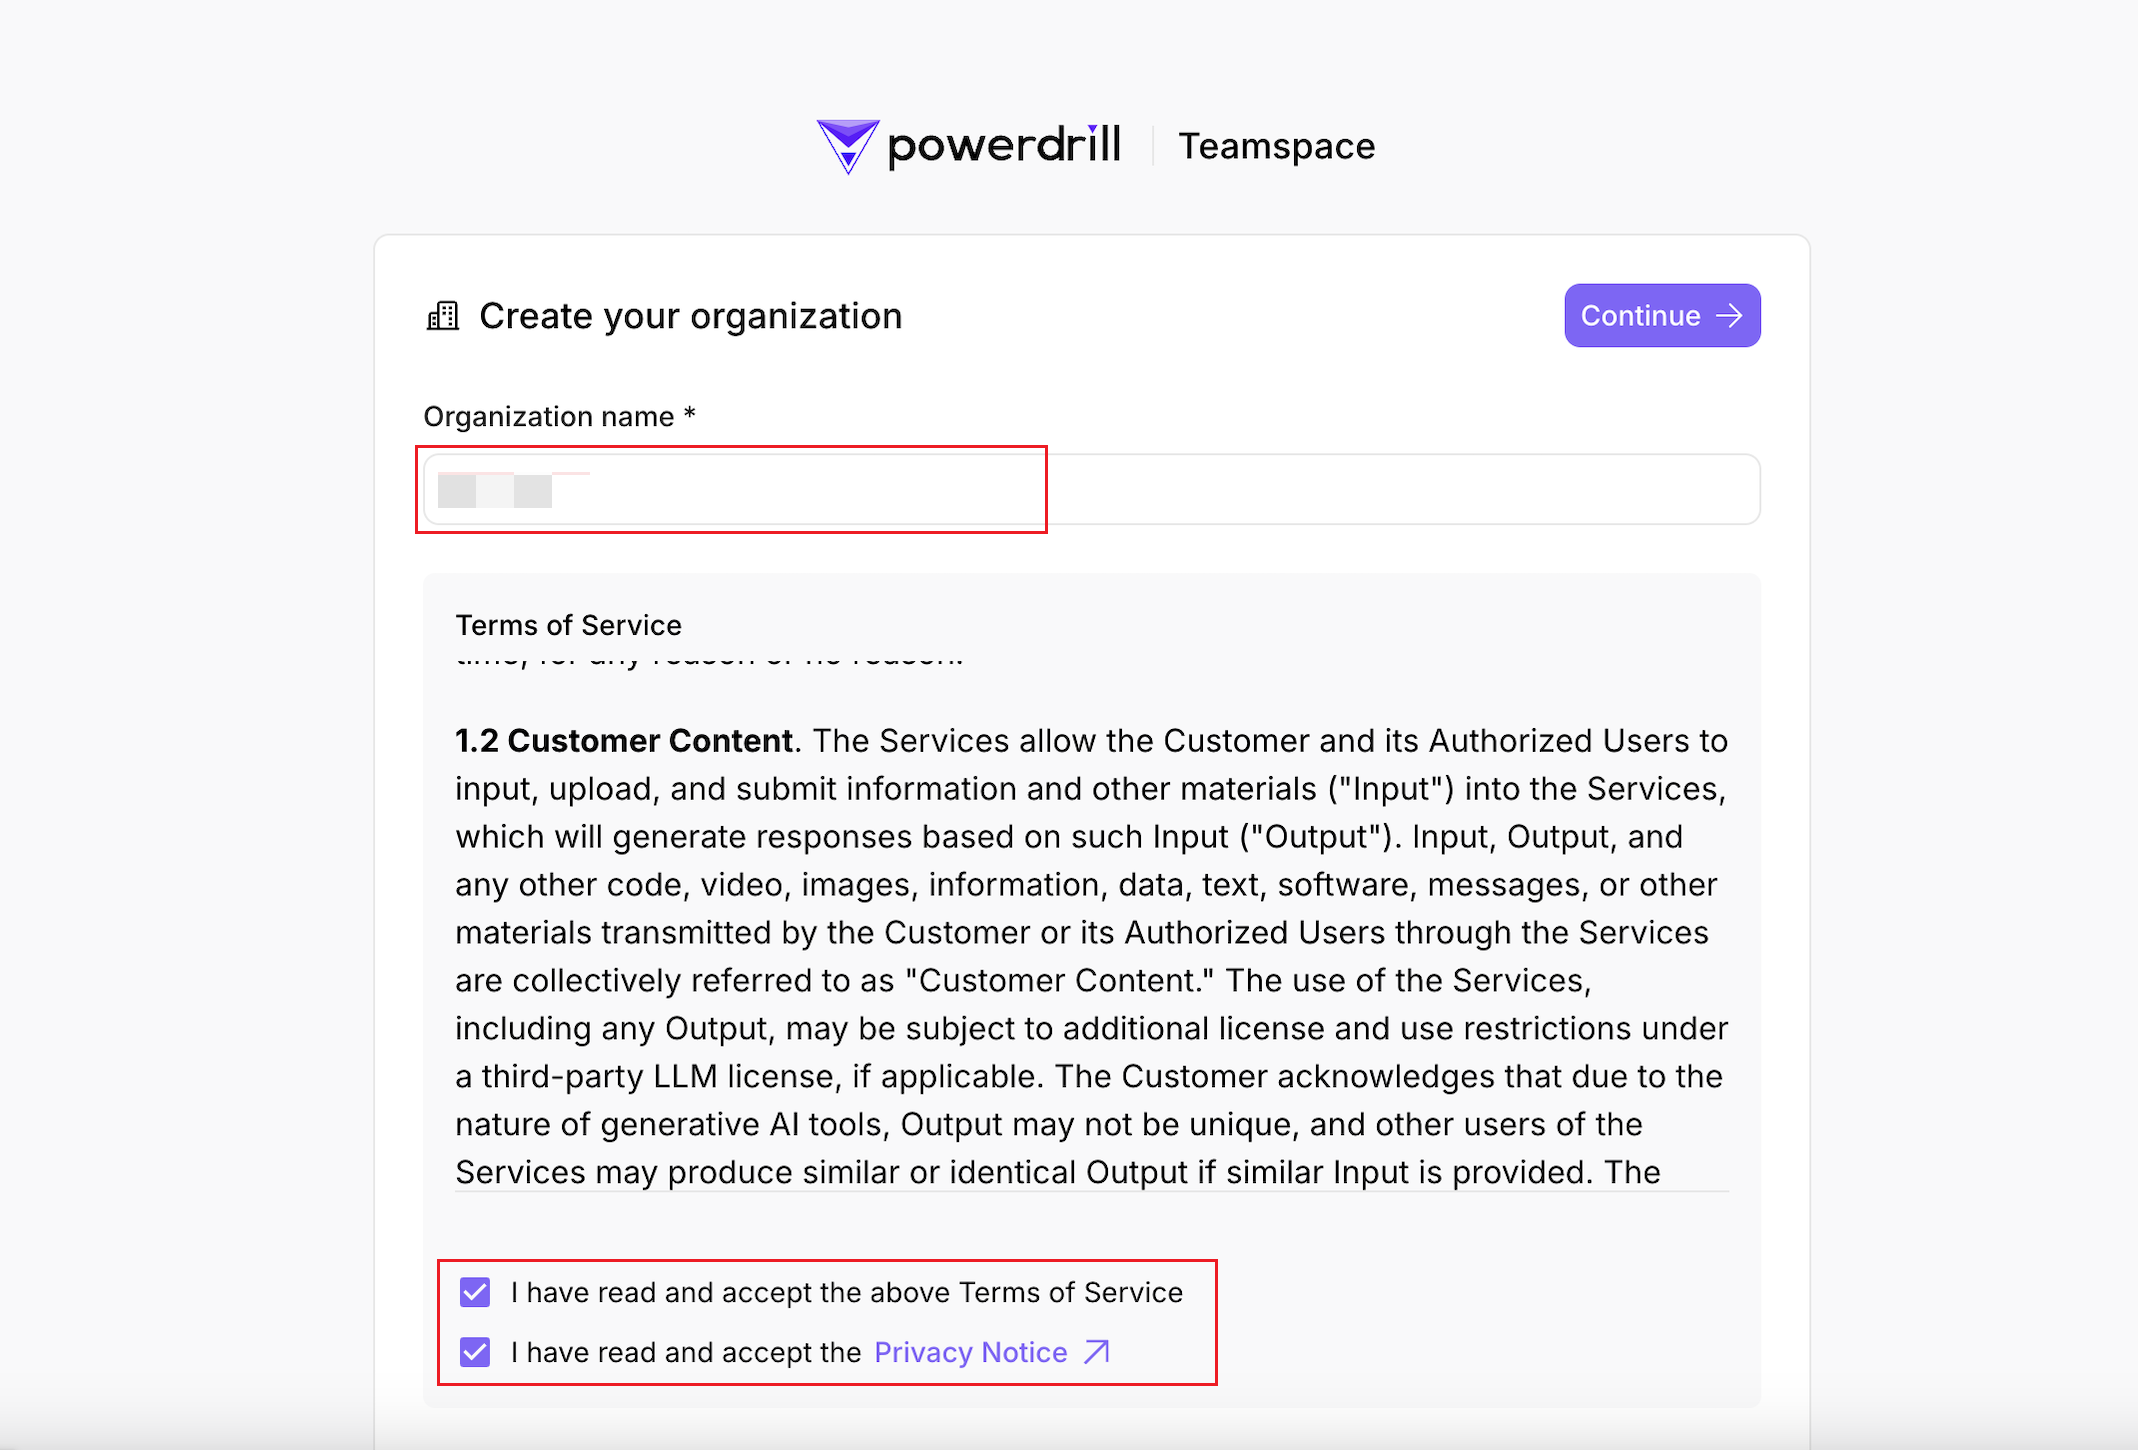
Enter your organization name, agree to the Terms of Service and Privacy Policy, and click Continue.
- Choose a pricing plan and set up payment, or skip this step and subscribe later.
Step 2. Associate your user ID with a subscription
- From the top navigation bar, select Subscriptions & plans.
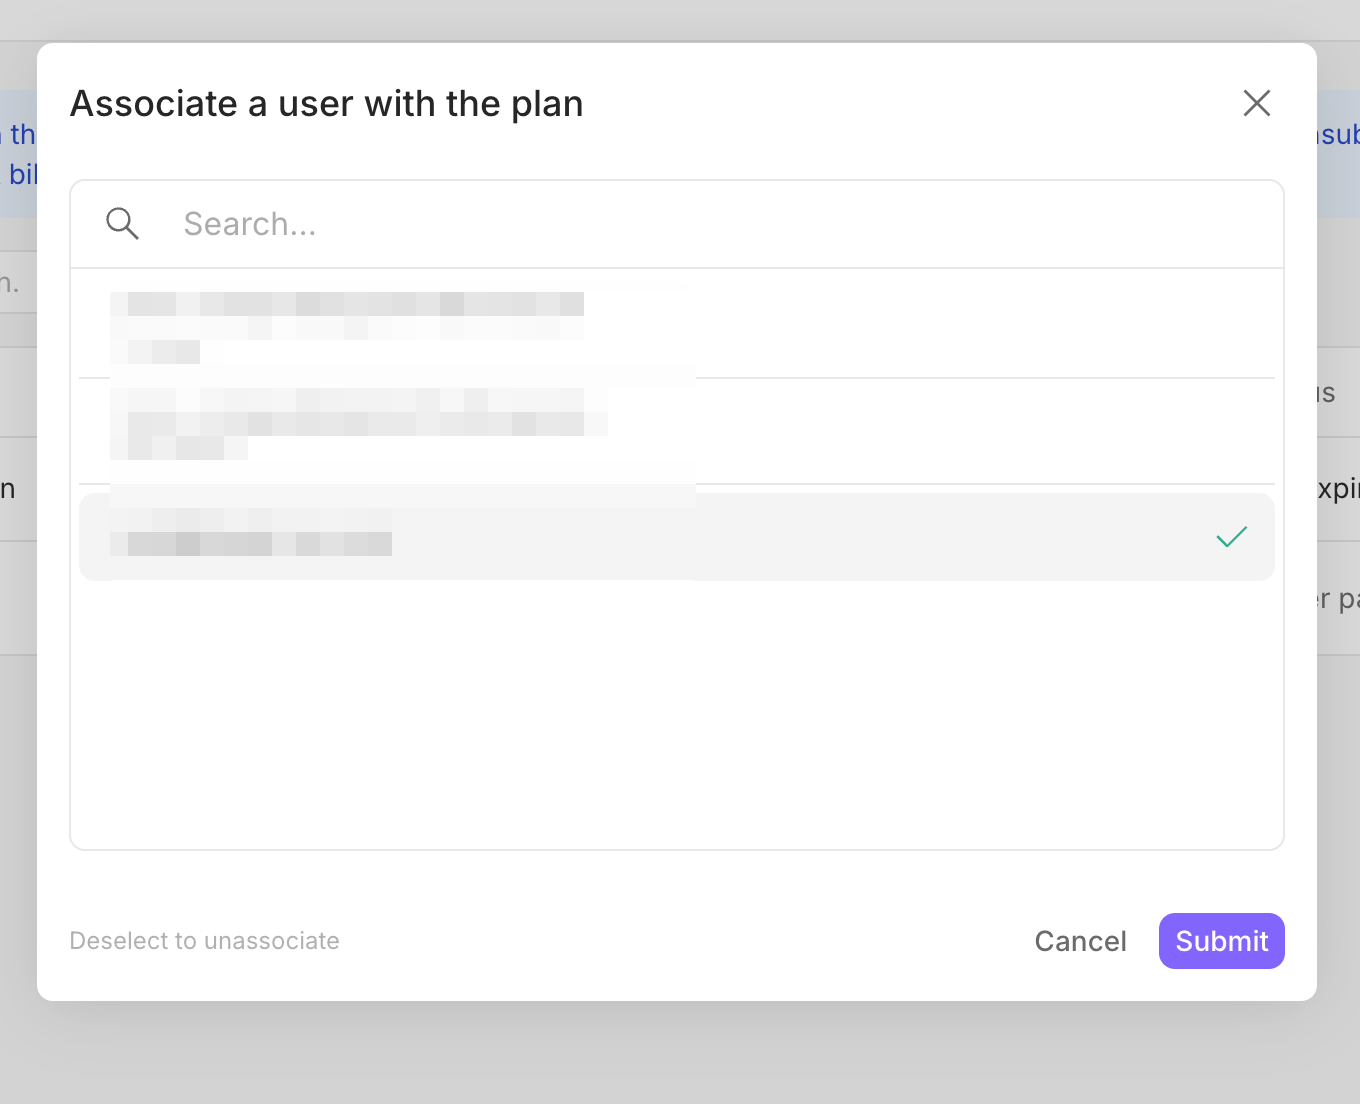
- In the target subscription row, click the value in the Associated with column.
-
In the dialog box that is displayed, select your user ID and click Submit.
(Optional) Step 3. Get your API key of the target project
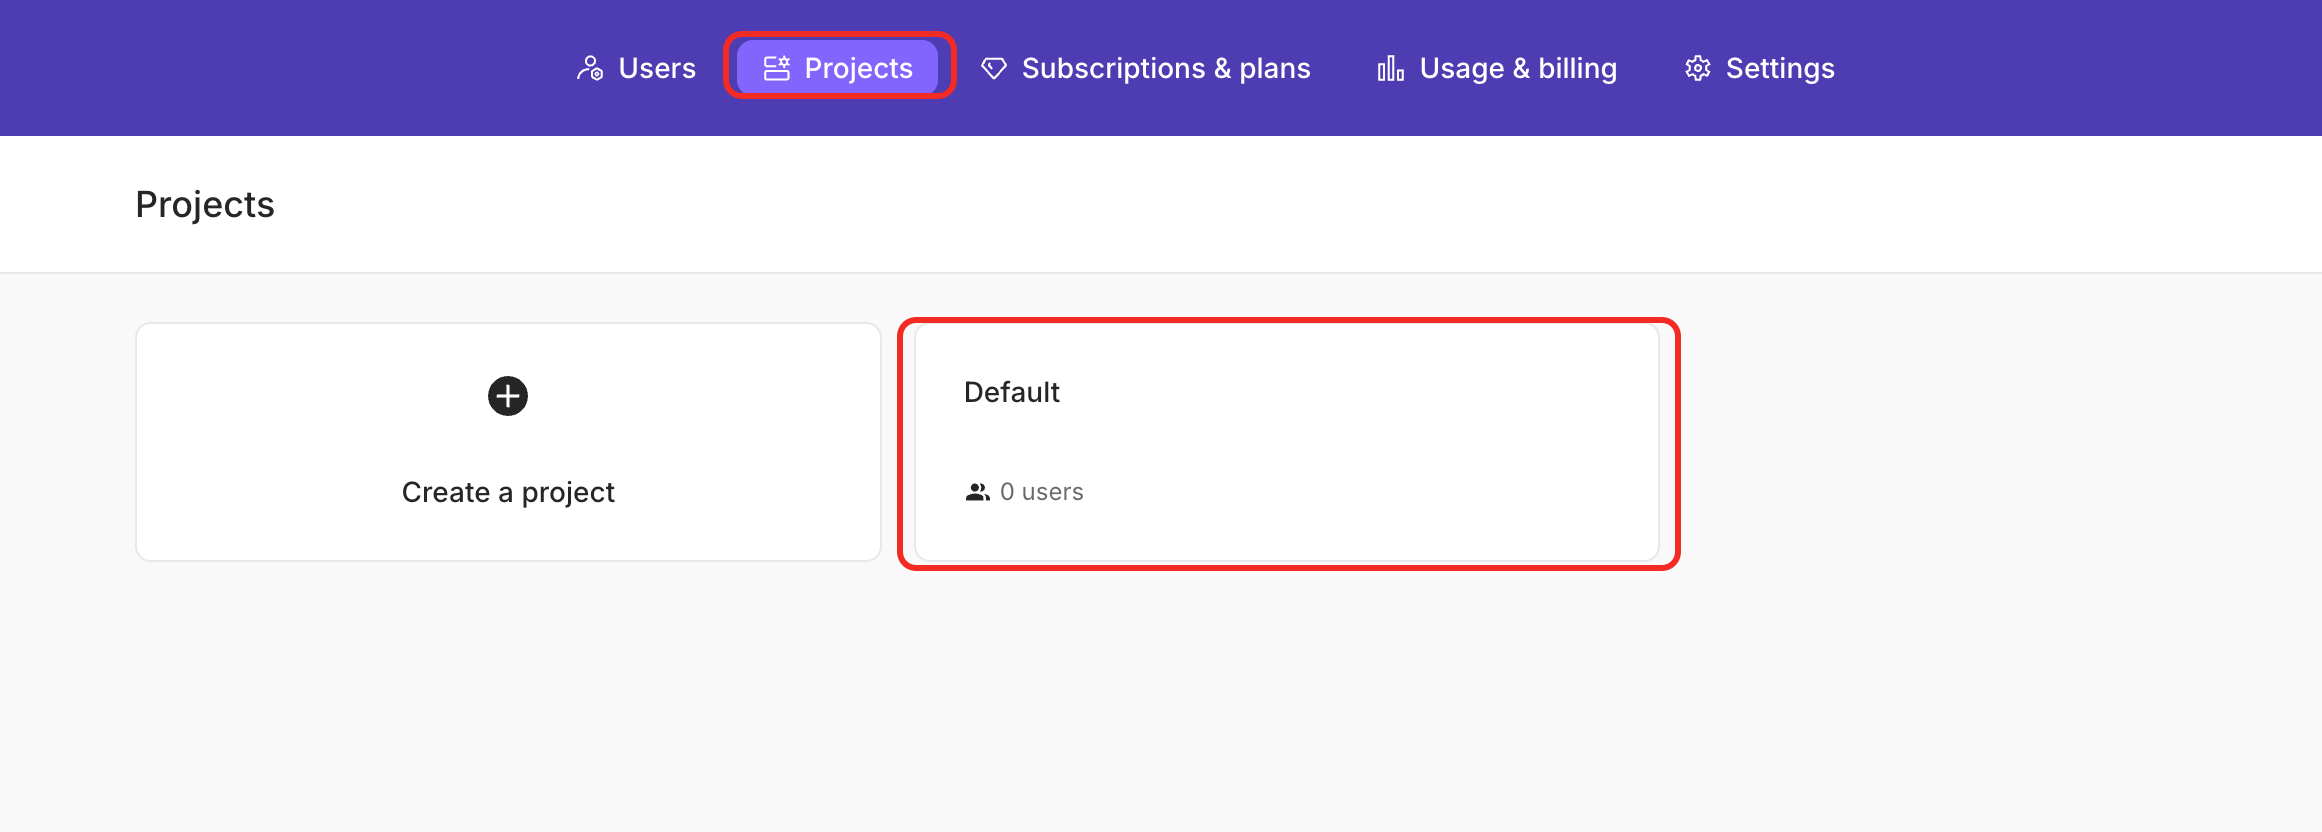
If you want to use Powerdrill Enterprise Open API, this step is mandatory.- Choose Projects from the top navigation bar.
-
Click the Default project info card.
-
On the Users tab that is displayed by default, click Add user.
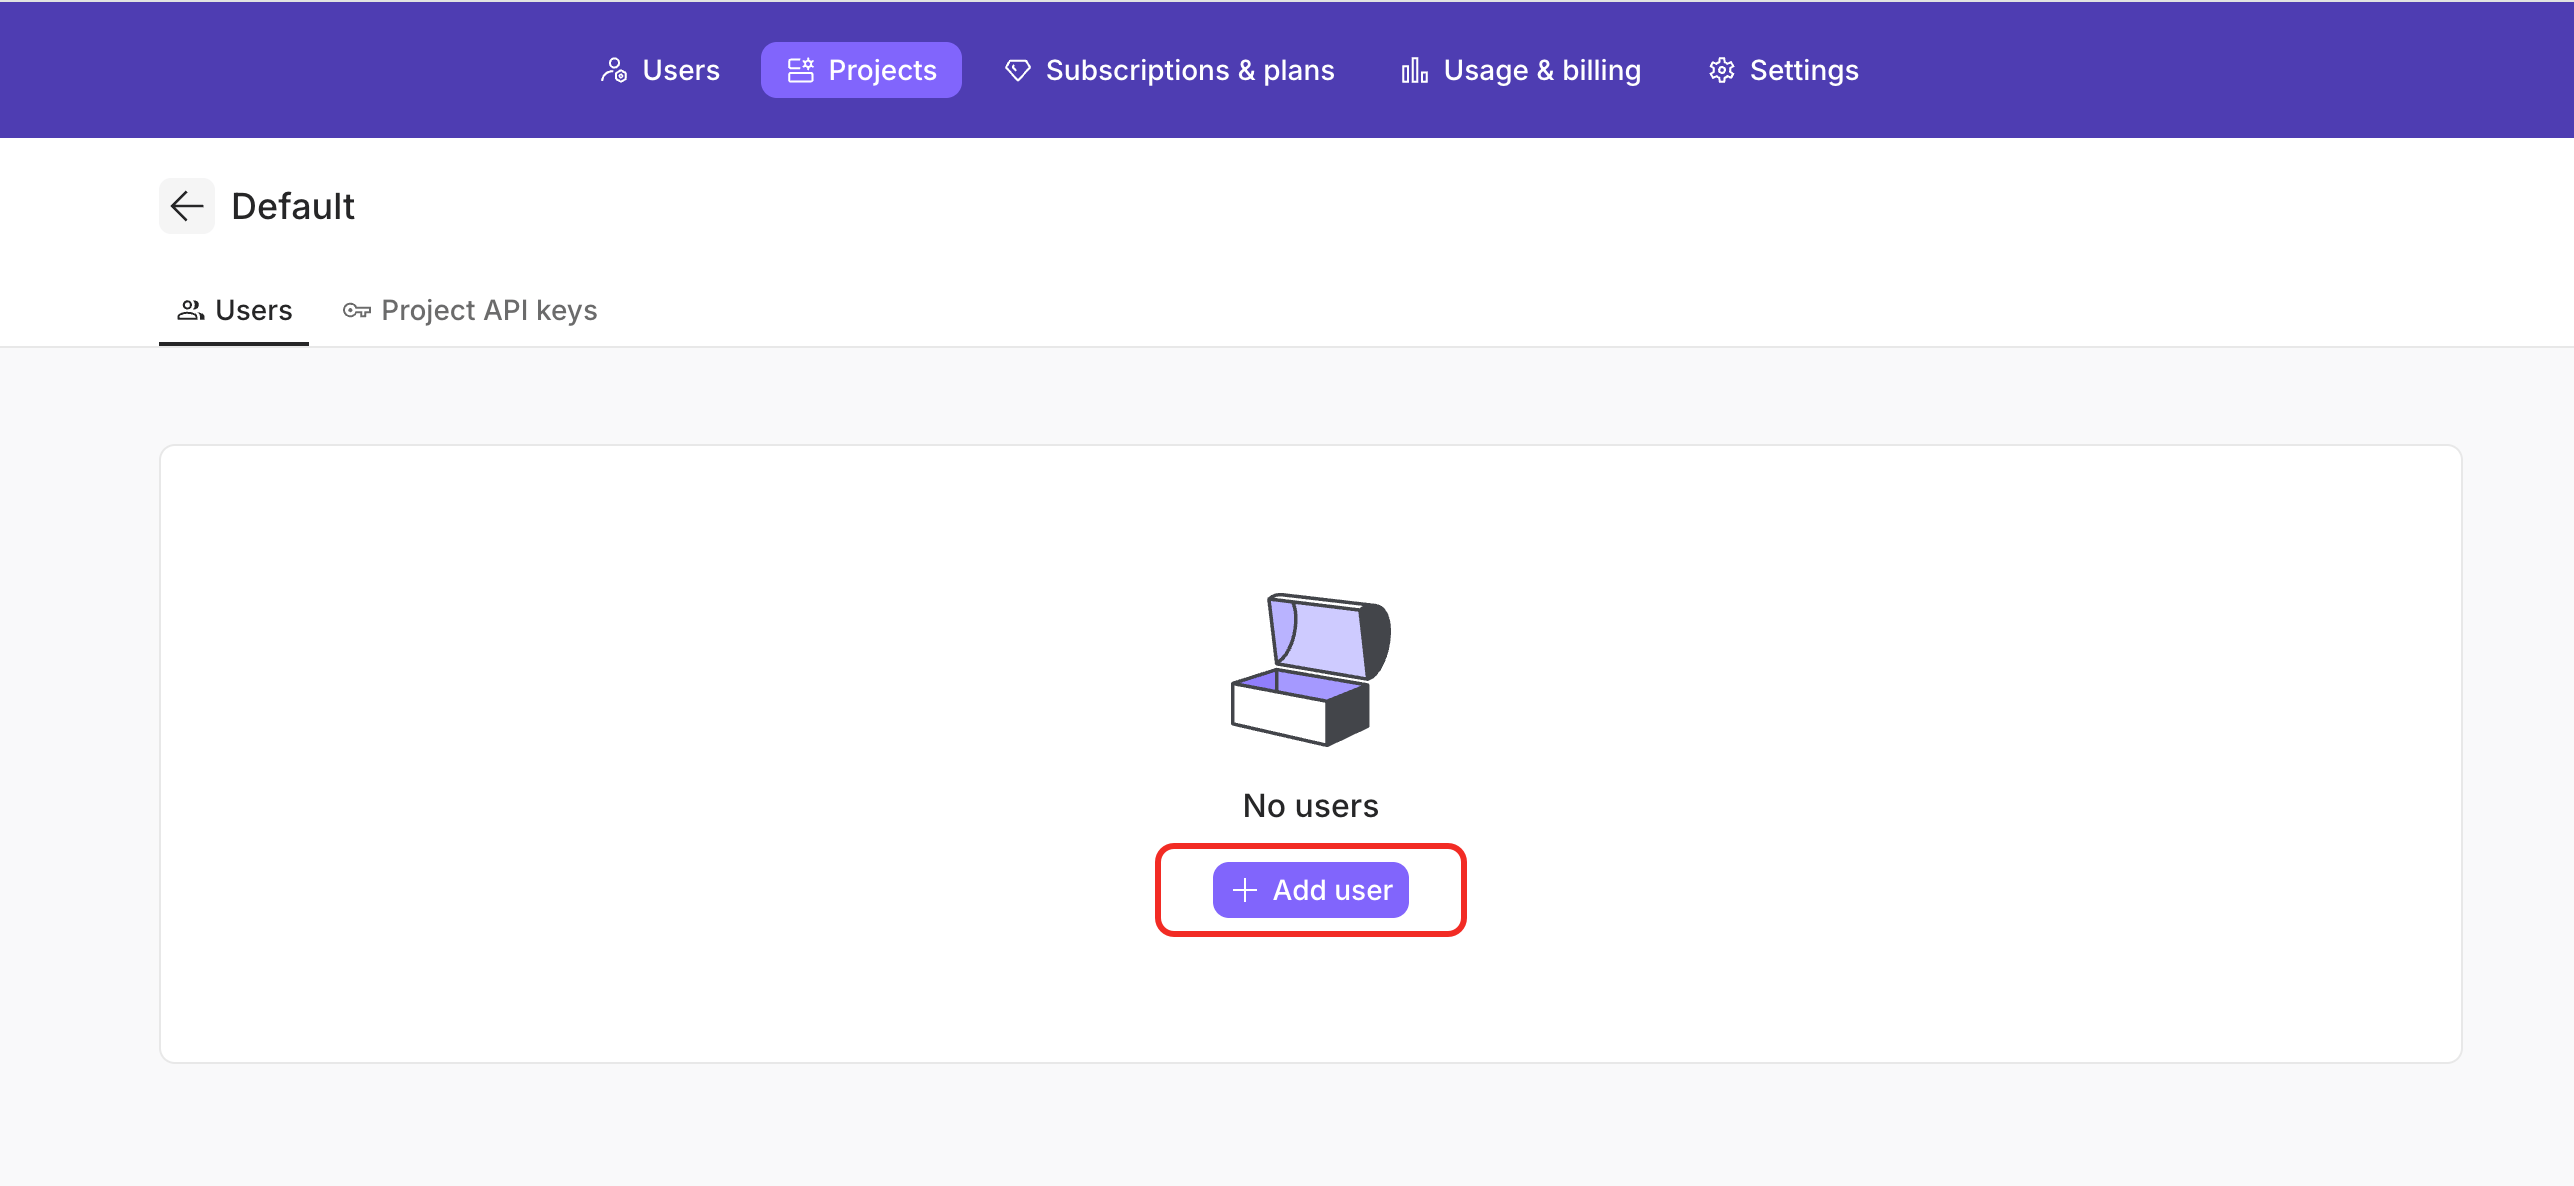
-
In the dialog box that is displayed, select your user ID and click Add.
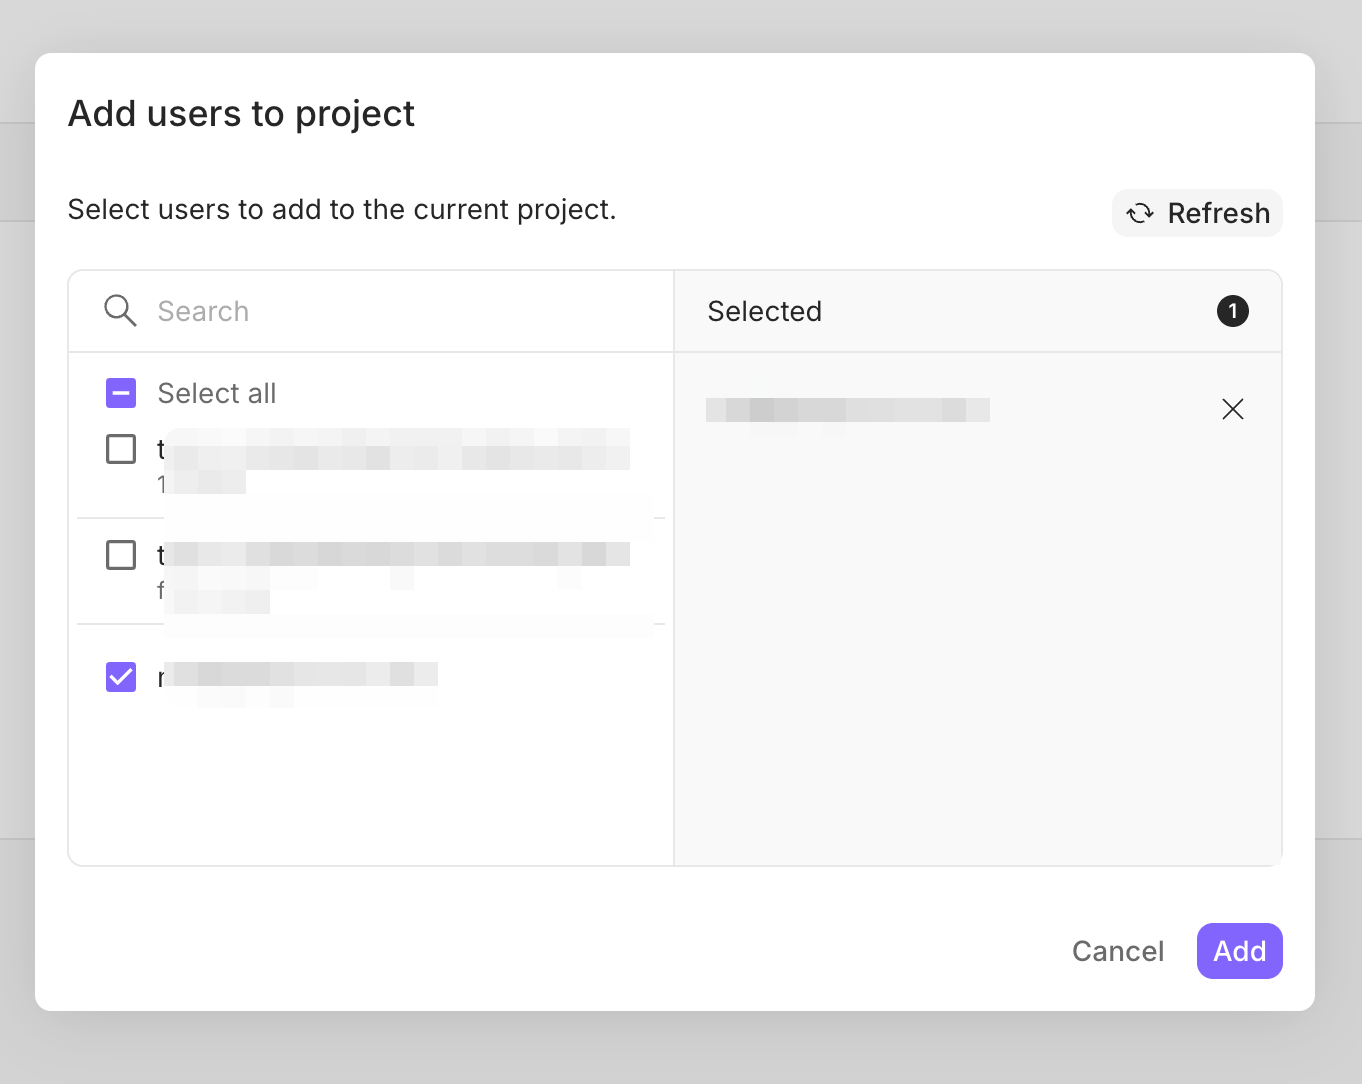
-
Click the Project API keys tab and click the + API access key button.
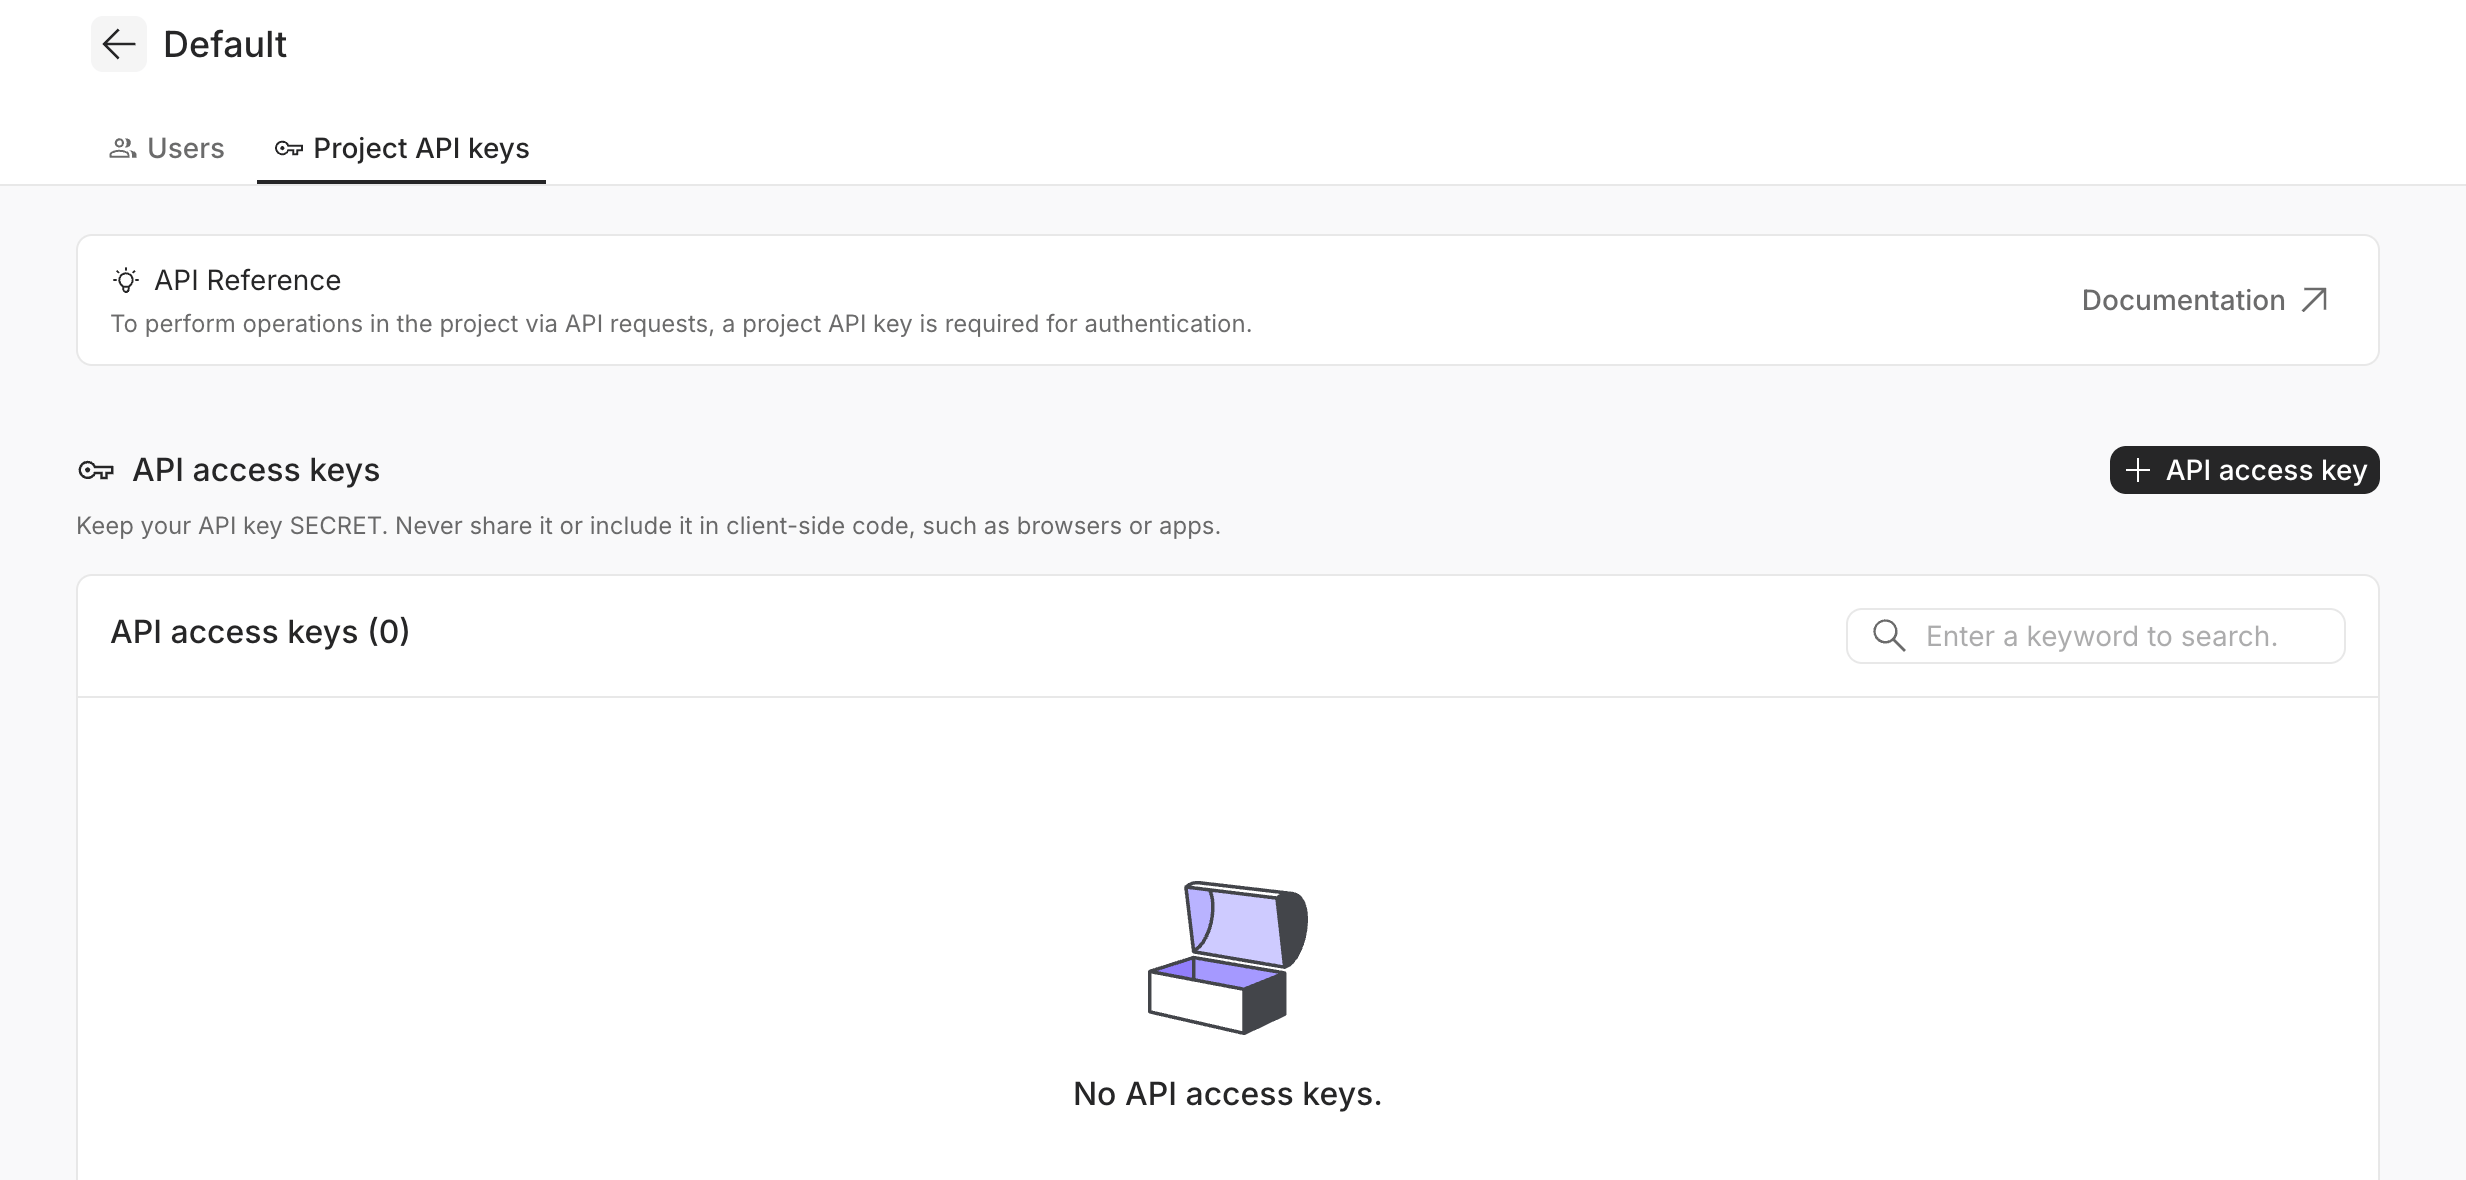
- In the dialog box that is displayed, set a name and click Create.
- Copy and save your API key properly and click I have saved my secret key to finish the creation.
Step 4. Use Powerdrill Enterprise to run data jobs
To run data jobs on your personal space:-
Click your profile icon on the upper-right corner of the page and click Switch Workspace.
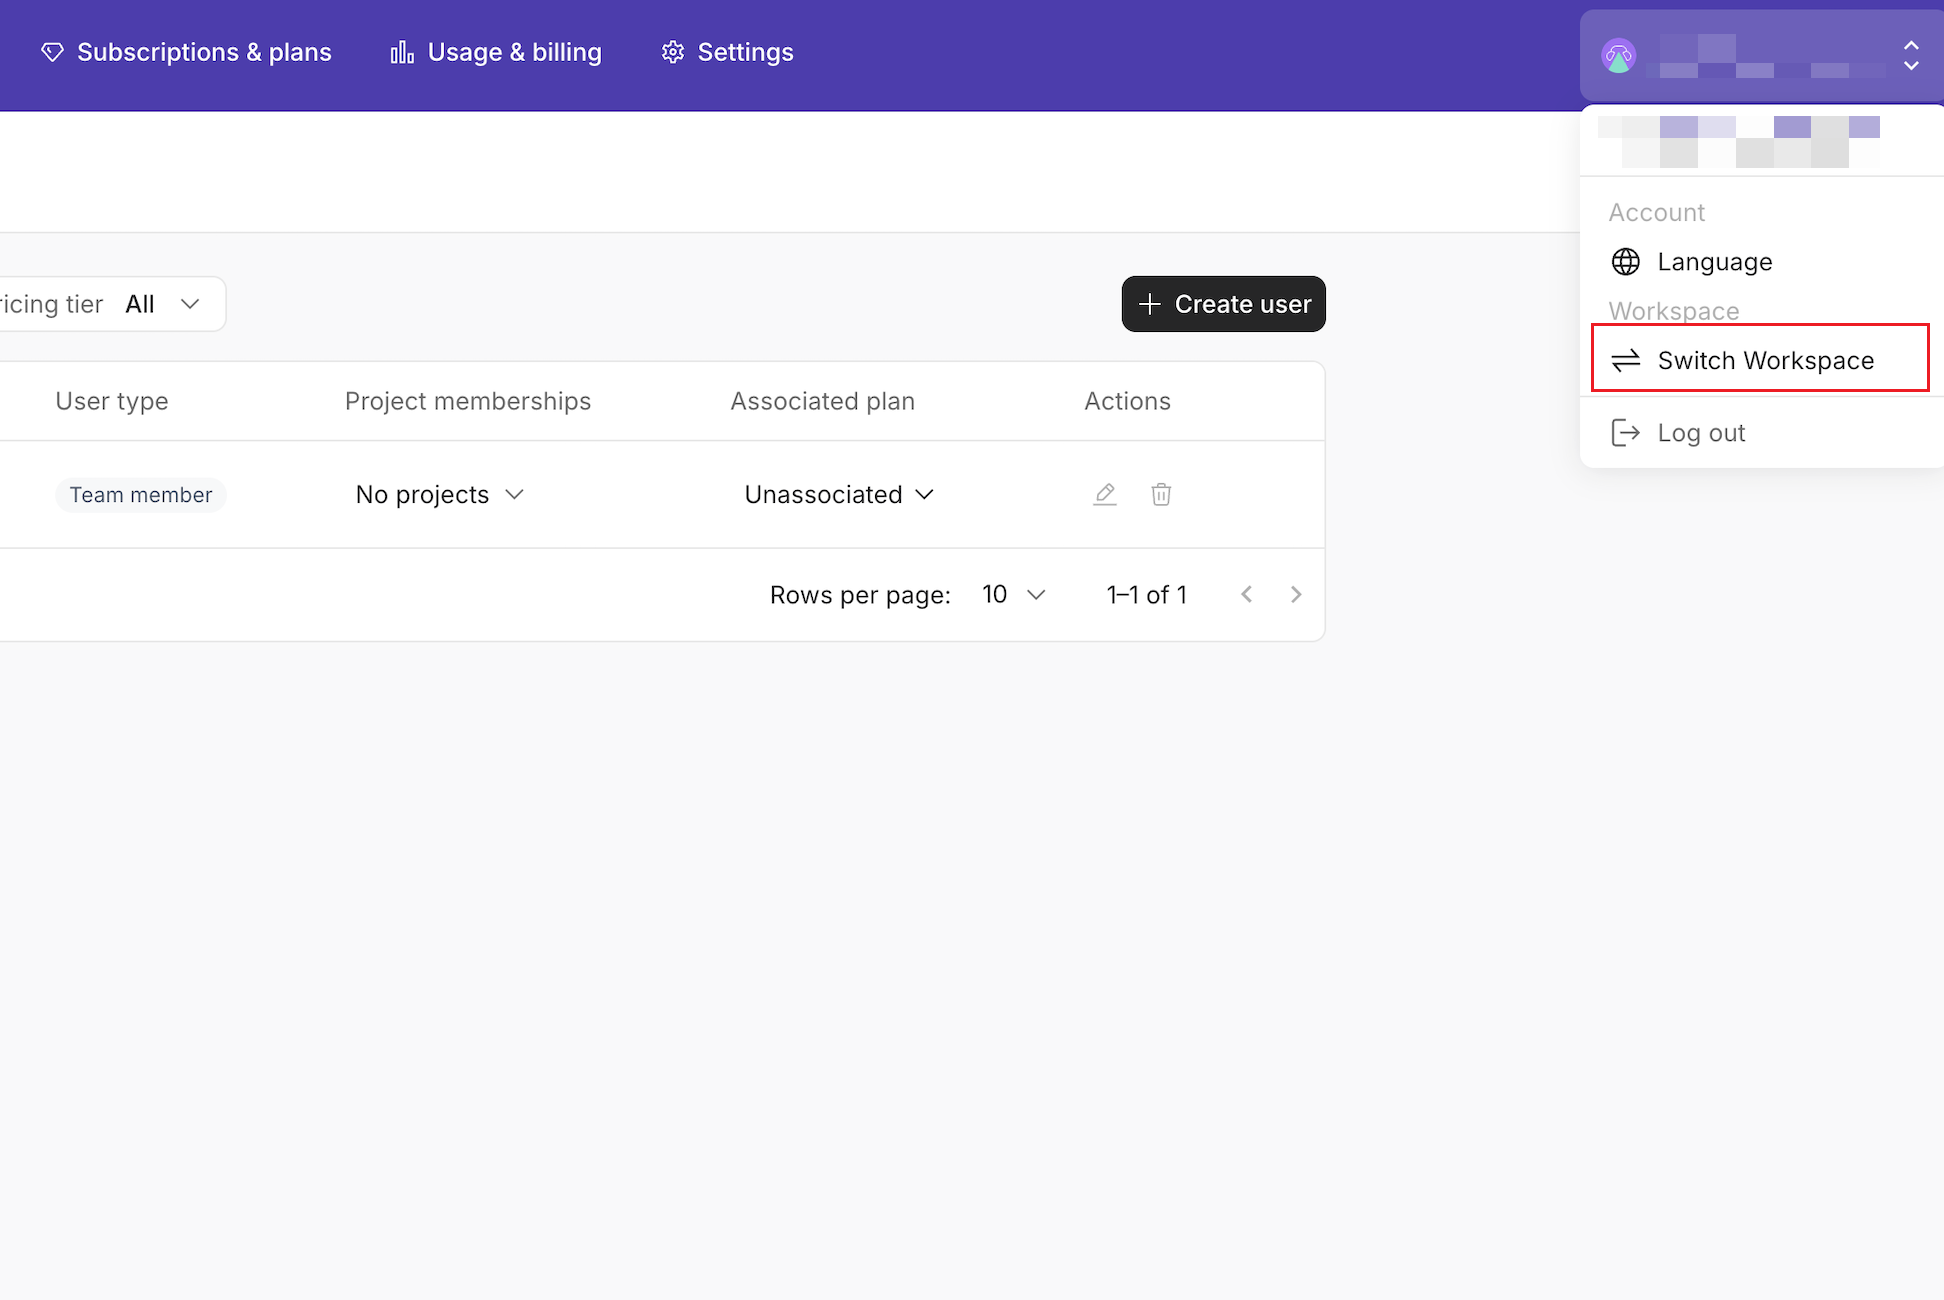
- On the page that appears, click the My personal space card.
- Upload your data and start exploring it.